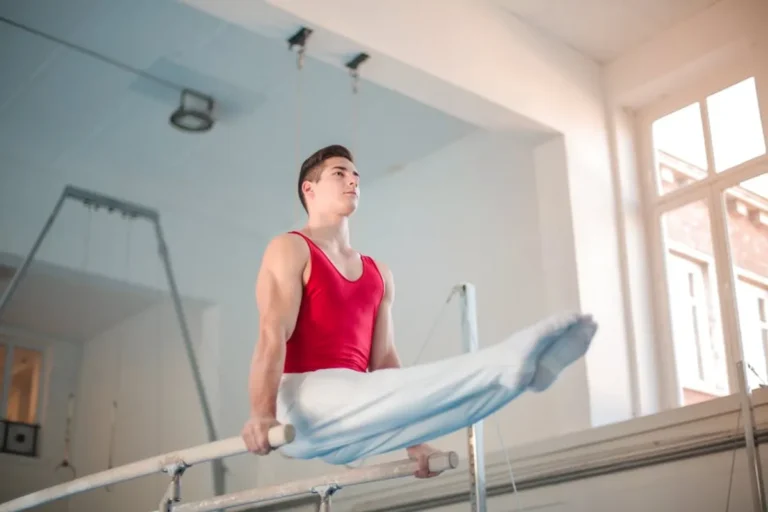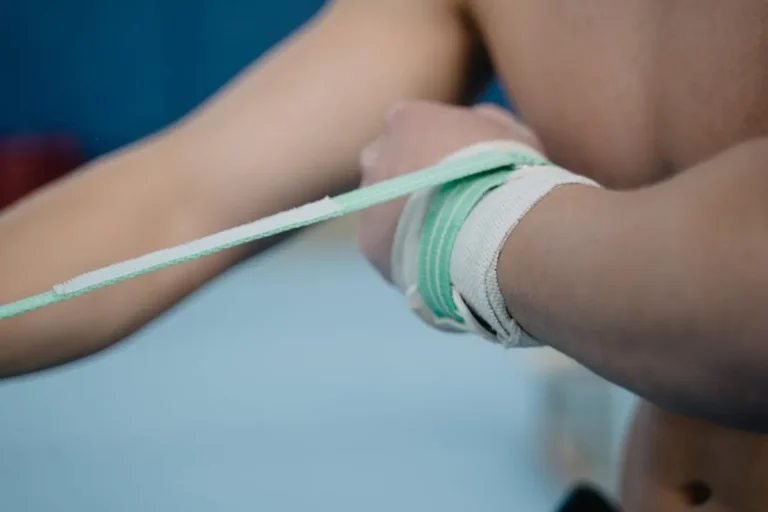
Beginning a tumbling practice at home requires a structured approach to ensure safety and effective skill development. Without the direct supervision of a coach or the specialized equipment of a gymnasium, home-based training emphasizes foundational strength, flexibility, and precise execution of basic movements. This guide outlines specific drills designed for beginners, focusing on building the necessary physical attributes and mastering core skills in a controlled environment, preparing individuals for more complex maneuvers while minimizing injury risk. This guide outlines specific drills designed for beginners, focusing on building the necessary physical attributes and mastering core skills in a controlled environment, preparing individuals for more complex maneuvers while minimizing injury risk and these best gymnastics training drills for beginners are a great place to start.
Establishing a Safe Home Tumbling Space
Before attempting any drills, designate a clear, unobstructed area. This space should be free of furniture, sharp objects, or anything that could cause a fall or collision. A minimum clear area of 6x6 feet is advisable for basic rolls, expanding to 8x8 feet for handstand practice.
Essential Equipment for Beginners
- Tumbling Mat: A crucial investment. Opt for a mat at least 1.5 to 2 inches thick, with a firm yet cushioned surface. Mats that fold or roll up are practical for home storage. Avoid yoga mats or thin exercise mats, as they offer insufficient protection for tumbling impacts.
- Comfortable Clothing: Loose-fitting clothing can snag or restrict movement. Wear athletic apparel that allows a full range of motion without being baggy.
- Water Bottle: Staying hydrated is fundamental for any physical activity, preventing muscle cramps and maintaining focus.
Foundational Strength and Flexibility Drills
Successful tumbling relies heavily on a strong core, flexible joints, and controlled body awareness. These preparatory drills build the necessary physical base.
Core Engagement and Body Control
Hollow Body Hold: Lie on your back, pressing your lower back into the floor. Extend arms overhead and legs straight, hovering them a few inches off the ground. Maintain this position, ensuring no arch in the lower back.
Best for: Developing core strength essential for maintaining a tight, controlled body shape during rolls and handstands.
Arch Hold: Lie on your stomach, extending arms forward and legs back. Lift your chest, arms, and legs a few inches off the ground, squeezing your glutes and back muscles. Keep your head neutral.
Best for: Strengthening the posterior chain, critical for arching during bridges and handsprings later on.
Plank Variations: Start with a standard forearm plank, maintaining a straight line from head to heels. Progress to side planks and planks with leg lifts to challenge stability.
Focus on: Sustained core stability and endurance.
Joint Mobility and Dynamic Stretching
Wrist Prep: Kneel on the floor, placing hands flat with fingers pointing forward, backward, and to the sides. Gently lean into each position to warm up the wrist joints.
Importance: Prevents injury during hand-supported skills like handstands.
Shoulder Circles: Perform large, controlled circles forward and backward with both arms.
Purpose: Improves shoulder mobility and prepares for overhead weight-bearing.
Leg Swings: Stand tall, holding onto a stable support. Swing one leg forward and backward, then side to side, in a controlled manner.
Benefit: Increases hip flexibility and range of motion for kicks and splits.
Pro Tip: Always prioritize proper form over speed or depth. Incorrect execution of foundational drills not only diminishes their effectiveness but also establishes poor muscle memory, making advanced skills harder and increasing injury risk. If a movement causes sharp pain, stop immediately and assess your form or consult a professional.
Core Tumbling Skills: Step-by-Step Drills
Once foundational strength and flexibility are established, begin practicing these fundamental tumbling skills. Always start on a mat.
Forward Roll Progression
Tuck Rock: Sit with knees tucked to your chest, hands on shins. Rock gently back and forth, keeping a rounded spine.
Prepares for: Understanding the rounded body shape needed for a smooth roll.
Assisted Forward Roll: From a standing position, squat down, place hands on the mat. Tuck your chin to your chest, push off your feet, and roll over your rounded back, aiming to land in a squat.
Key focus: Keeping the chin tucked throughout the roll to protect the neck. Use hands to guide and absorb impact.
Standing Forward Roll: Progress to a standing start without assistance, maintaining the same tucked shape and controlled push-off.
Goal: Executing a fluid roll from a standing position to a standing finish.
Backward Roll Drills
Backward Rock: Similar to the tuck rock, but rocking backward. Ensure your hands are positioned near your ears, palms up, ready to push off the mat.
Prepares for: The hand placement and push needed in a backward roll.
Backward Roll from Squat: From a squat, sit back, tuck your chin, and roll over your rounded back. As your hips lift, push with your hands on the mat near your shoulders to lift your head and land back in a squat.
Key focus: The hand push is critical to prevent landing on your head/neck.
Handstand Prep and Holds
Pike Handstand Hold (Feet on Elevated Surface): Place your feet on a low, stable surface (like a sturdy chair or ottoman) with hands on the mat, forming an inverted V shape. Hold this position, focusing on stacked shoulders over wrists.
Builds: Shoulder strength and understanding of body alignment for handstands.
Wall Handstand Holds: Kick up to a handstand against a wall, facing the wall. Hold for increasing durations, focusing on keeping a straight body line and tight core.
Develops: Balance, endurance, and proper handstand form without the fear of falling over.
Building Consistency and Preventing Injury
Regular, mindful practice is more effective than sporadic, intense sessions. Consistency fosters muscle memory and strength gains.
Structured Practice Routines
Allocate specific time slots for tumbling. A 30-45 minute session, 3-4 times a week, is more beneficial for beginners than one long, infrequent session. Structure each session with a warm-up, skill practice, and cool-down.
Example Routine:
- 5-10 minutes: Dynamic warm-up (jogging in place, arm circles, leg swings)
- 10-15 minutes: Foundational strength/flexibility drills (hollow body, arch holds, planks)
- 15-20 minutes: Skill-specific drills (forward/backward rolls, handstand prep)
- 5 minutes: Static stretching (holding stretches for 20-30 seconds)
Listening to Your Body and Rest
Fatigue increases injury risk. If you feel tired or experience discomfort beyond typical muscle soreness, take a rest day. Adequate rest allows muscles to recover and grow stronger. Incorporate active recovery days with light activities like walking or gentle stretching.
Advancing Your Home Tumbling Practice
As you master basic drills, you can begin to link them together and explore more challenging variations.
Incorporating Skill Combinations
Once individual skills are solid, try combining them. For example, a standing forward roll followed immediately by a backward roll. This improves fluidity and transitions. Focus on maintaining control and good form throughout the sequence.
When to Seek Professional Coaching
While home practice builds a strong foundation, certain skills inherently carry higher risk or require specialized spotting techniques that are impossible to replicate safely at home. Skills like back handsprings, tucks, or aerials are best learned under the direct supervision of a certified gymnastics or tumbling coach in a properly equipped facility. A coach can provide immediate feedback, correct form errors, and ensure a safe progression path that home practice cannot fully offer.
Sustaining Your Home Tumbling Journey
Consistent, safe practice of beginner tumbling drills at home builds a robust foundation for more advanced skills. Focus on mastering each movement with precision before progressing. This disciplined approach ensures long-term development, minimizes injury, and fosters a deeper understanding of body control and spatial awareness, setting you up for success whether you continue at home or transition to a professional gym setting.
Frequently Asked Questions
Q: What is the most important safety precaution for home tumbling?
A: The most critical safety precaution is ensuring you have adequate matting and a clear, unobstructed space. Never attempt skills on hard surfaces or near furniture.
Q: How often should a beginner practice tumbling drills?
A: Beginners should aim for 3-4 sessions per week, with each session lasting 30-45 minutes. This allows for consistent progress and sufficient recovery time.
Q: Can I learn advanced tumbling skills like back handsprings at home?
A: It is strongly advised against attempting advanced skills like back handsprings, tucks, or aerials at home. These skills require specialized spotting techniques and equipment best found in a professional gym with certified coaches to ensure safety and proper technique.
Q: What if I don't have a dedicated tumbling mat?
A: A dedicated tumbling mat is highly recommended for safety. If one is not immediately available, avoid practicing any rolls or handstands that involve impact or falling. Focus instead on foundational strength and flexibility drills until proper matting can be acquired.