Mastering a handstand offers significant physical and mental benefits, from enhanced upper body strength and core stability to improved balance and proprioception. However, the pursuit of this inverted posture carries inherent risks if approached without proper preparation and technique. Neglecting foundational strength, mobility, or safe bailing strategies can lead to wrist sprains, shoulder impingements, neck strains, or more severe injuries from uncontrolled falls. Approaching handstand practice with a deliberate focus on safety is not merely a precaution; it is an essential investment in sustainable progress and injury prevention, ensuring a long-term, rewarding journey rather than a short, painful one.
Building a Robust Foundation for Inversion
Before attempting to kick up into a handstand, establishing adequate strength and mobility across key joints and muscle groups is non-negotiable. This preparatory phase minimizes strain and maximizes control once inverted.
Prioritizing Wrist Preparation
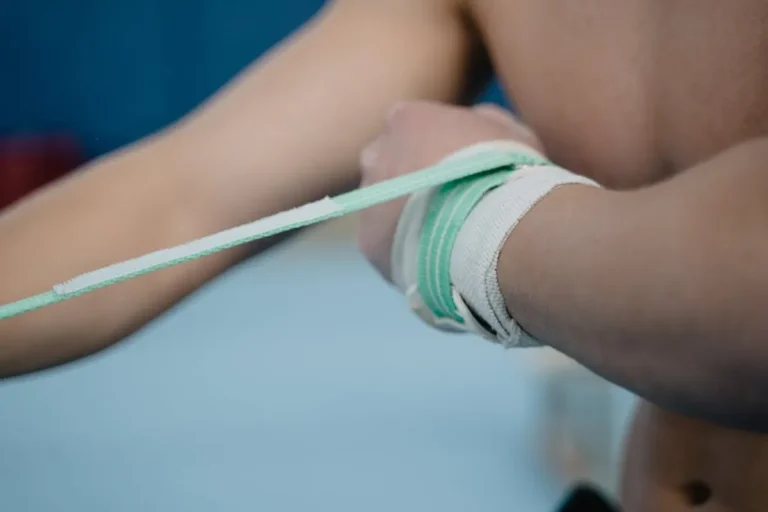
The wrists bear the entire body weight during a handstand, making them highly susceptible to injury without proper conditioning. Integrate specific warm-ups and stretches before each session. Begin with gentle wrist circles in both directions, followed by flexion and extension movements. Progress to dynamic stretches like leaning forward over hands placed flat on the floor, fingers pointed forward, then backward, then to the sides. Hold each stretch for 15-20 seconds. This increases the range of motion and prepares the connective tissues for load, mitigating the risk of sprains or carpal tunnel issues.
Developing Shoulder Stability and Strength
Shoulder strength and stability are paramount for maintaining a solid handstand line and preventing collapse. Focus on exercises that build overhead pushing power and scapular control. Pike push-ups, starting with feet elevated to increase difficulty, directly mimic the handstand pressing motion. Hollow body holds and arch body holds, performed on the floor, teach the body to maintain a rigid, stacked position, which translates directly to shoulder and core engagement in a handstand. Incorporate active shoulder shrugs and depressions while in a plank or pike position to develop awareness and control of the shoulder blades, crucial for preventing shoulder impingement.
Cultivating Core Engagement
A strong, engaged core prevents the common "banana back" handstand, which places undue stress on the lumbar spine and makes balance precarious. The core acts as the central stabilizer, connecting the upper and lower body. Integrate exercises like hollow body holds, L-sits, and various plank variations (front, side, reverse) into your routine. These movements teach the body to brace and maintain a rigid, straight line, transferring this stability to the inverted position. Focus on drawing the navel towards the spine and maintaining a posterior pelvic tilt to keep the lower back flat.
Mastering Entry and Exit Techniques
The ability to enter and exit a handstand safely is as critical as holding the pose itself. These techniques build confidence and prevent uncontrolled falls.
Utilizing Wall Practice
The wall is an indispensable tool for handstand learners. Begin with "back to wall" handstands, kicking up with your back facing the wall. This allows you to find your balance point and build endurance without fear of falling backward. Once comfortable, progress to "belly to wall" handstands, walking your feet up the wall until your chest is close to it. This position forces a straighter body line and strengthens the core and shoulders in a more accurate handstand alignment. Spend time actively pushing through the shoulders and finding the slight hollow body position against the wall.
Implementing Safe Bailing Strategies
Learning how to exit a handstand safely is crucial for preventing injury. The most common and effective bails are the cartwheel bail and the forward roll. For the cartwheel bail, if you feel yourself losing balance to one side, simply turn your head in that direction, allowing your body to follow into a controlled cartwheel. For a forward roll, if you feel yourself falling forward, tuck your chin to your chest, round your back, and allow your body to roll onto your upper back and shoulders, dispersing the impact. Practice these bails consistently on a soft surface to build muscle memory and reduce hesitation.
Warning: Never attempt to catch yourself with outstretched arms if you are falling directly forward from a handstand. This can lead to severe wrist, elbow, or shoulder injuries. Always prioritize a controlled roll or cartwheel bail to distribute impact safely.
Considering Spotting Techniques
A knowledgeable spotter can provide invaluable assistance, especially when transitioning away from wall support. A spotter should stand to the side of the practitioner, ready to gently guide the legs or hips to correct alignment or prevent a fall. The spotter's role is not to hold the practitioner up, but to offer subtle cues and support for balance. Ensure clear communication with your spotter regarding what kind of assistance you need and when.
Optimizing the Training Environment
The physical space where you practice handstands significantly impacts safety and confidence.
Choosing the Right Surface
Practice on a surface that offers both stability and some impact absorption. A firm mat, grass, or a non-slip gym floor are ideal. Avoid concrete or very hard surfaces, as these offer no forgiveness during falls. Similarly, excessively soft surfaces like thick carpet can make it harder to maintain balance and provide solid hand placement.
Ensuring Adequate Space
Clear your practice area of any obstacles, furniture, or sharp objects. You need enough space to safely bail out in any direction without collision. This includes vertical clearance if you are practicing indoors. A general rule is to have at least 6-8 feet of clear space in all directions around your practice spot, and ample overhead room.
Adopting Progressive Training Principles
Safe handstand practice is not about rushing; it's about consistent, intelligent progression.
- Listen to Your Body: Pain is a signal, not a challenge to be overcome. If you experience sharp pain in your wrists, shoulders, or neck, stop immediately. Rest, apply ice if needed, and consult a professional if pain persists. Pushing through pain often leads to chronic injuries that halt progress entirely.
- Prioritize Consistency Over Intensity: Short, frequent practice sessions (15-20 minutes, 3-5 times a week) are more effective and safer than infrequent, long, intense sessions. This allows your body to adapt gradually, builds neurological pathways, and reduces fatigue-related errors.
- Incorporate Active Recovery: On rest days, engage in light mobility work, stretching, or other low-impact activities to aid recovery and maintain flexibility.
- Utilize Video Feedback: Record your handstand attempts. Watching yourself allows for objective self-correction, helping you identify subtle alignment issues, common compensations, and areas for improvement that are difficult to perceive in the moment.
Practical Steps for Sustainable Handstand Practice
A safe and effective handstand journey requires a holistic approach. Begin by meticulously building foundational strength in your wrists, shoulders, and core, recognizing these as your primary support structures. Dedicate time to mastering entries and, crucially, safe exits like the cartwheel bail or forward roll, which will empower you to push your limits without fear. Always select a clear, forgiving practice environment. Most importantly, adopt a mindset of gradual progression, prioritizing consistency and listening to your body's feedback to prevent overuse injuries. By integrating these principles, your handstand practice transforms from a risky endeavor into a rewarding, long-term skill development process.
Frequently Asked Questions
How long does it typically take to learn a handstand safely?
The timeline varies significantly based on individual strength, mobility, consistency, and prior athletic experience. For most adults starting from scratch, a safe, freestanding handstand can take anywhere from 6 months to 2 years of consistent, dedicated practice. Focus on the process and small, incremental improvements rather than a strict deadline.
What are the most common handstand injuries, and how can they be avoided?
Common injuries include wrist sprains, carpal tunnel syndrome, shoulder impingement, and neck strain. These are primarily avoided by thorough wrist warm-ups and strengthening, building robust shoulder stability, maintaining a strong hollow body position to protect the spine, and consistently practicing safe bailing techniques to prevent uncontrolled falls.
Can I practice handstands every day?
For beginners and intermediate practitioners, daily handstand practice is generally not recommended due to the high stress it places on wrists and shoulders. Aim for 3-5 sessions per week, allowing for rest and recovery days. More advanced practitioners might practice daily, but they often incorporate varied intensity and specific recovery protocols.
What if I am afraid of falling?
Fear of falling is natural and can be a significant barrier. Overcome this by systematically building confidence: start with extensive wall practice (belly to wall is particularly effective), consistently drill safe bailing techniques until they become second nature, and consider practicing with a trusted spotter. Gradually reducing reliance on the wall will build mental resilience.